Jupiter Near Opposition

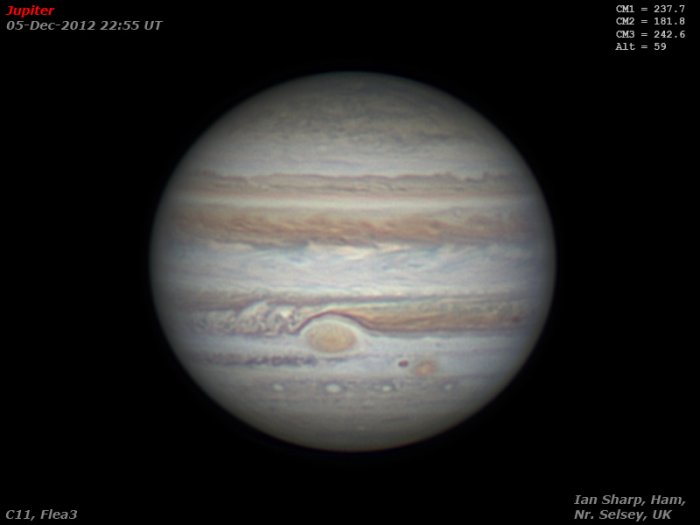
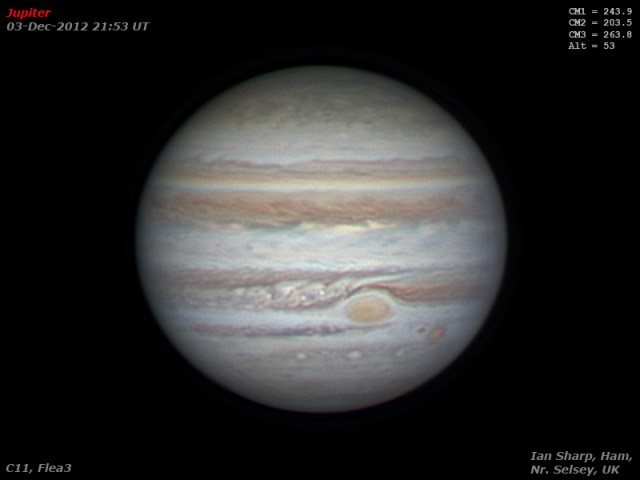
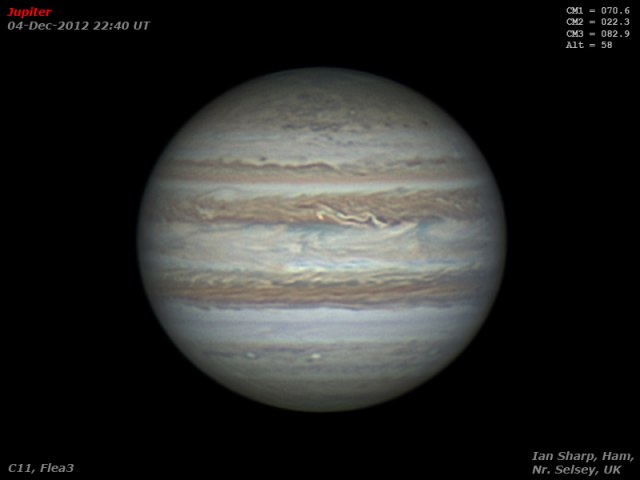
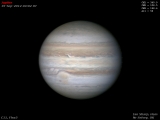
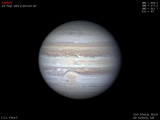
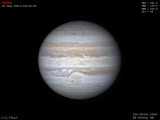
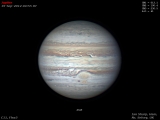
Jupiter reached Opposition at about 1am UT on the morning of 3rd December 2012. Here are two images of different aspects of the planet. The one with the GRS was taken on the night of the 3rd and the second image taken on the 4th, with slightly better seeing conditions.

Opposition means that the Sun, the Earth and Jupiter are in a line. The Sun is therefore shining directly on to the face of Jupiter as we look at it. It also means it is closest to us and hence the disc is the largest it gets in this apparition.


Adding a Splash of Colour

Yesterday, I posted the monochrome H-Alpha image of M42, taken in full moon-light. To get the RGB colour data, I will have to wait for the Moon to go away, or will I?

In the image below, I took the RGB (Red, Green and Blue) data from a colour image of M42 I took last year with a one-shot colour CCD camera. The colour image was taken at a much smaller scale with a much smaller refracting telescope, and I had to scale it up in size to align, rotate and fit the new H-Alpha image which I used as the luminosity channel in this image. The colours look a bit washed out here, which happens if you just simply use Ha as luminance, but I think it does look pretty!
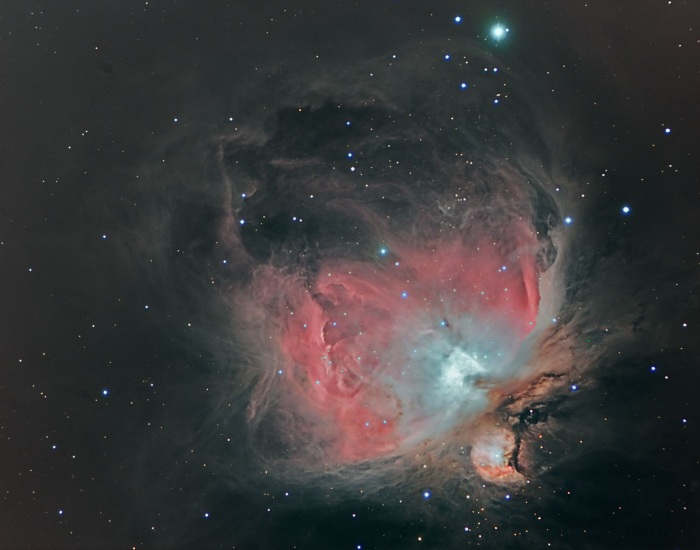
It just shows that the colour data does not have to have the full resolution (detail) of the luminance data. This is why astronomers often shoot the RGB data for their images with their cameras in ‘binned’ mode. If you bin by 2×2, it means that you have 4 pixels adding up to make one. The camera becomes twice as sensitive and you can expose for less time to get the same ‘depth’ of image. The downside is that the image has half the number of pixels across and down, so you pay by losing resolution. But we’ve just discovered that doesn’t matter too much!

The Wonders of H-Alpha Imaging

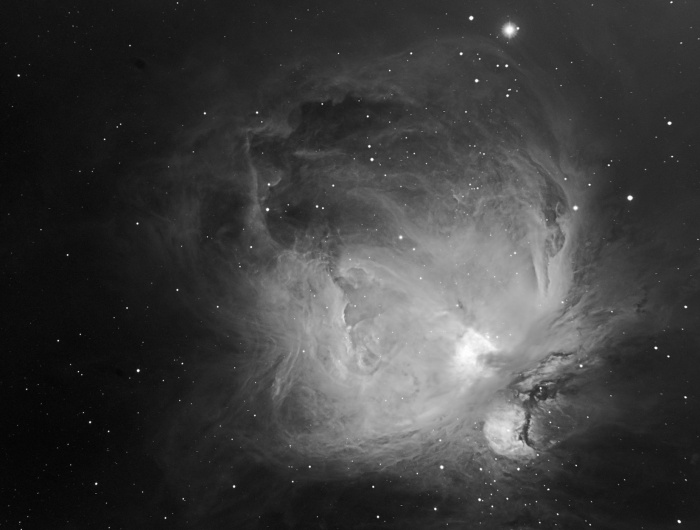
It’s amazing what you can do in bright Moonlight! Last night was one day past the full Moon and the sky was flooded with light. Hopeless for imaging faint Deep Sky Objects or DSOs you may think.

But using narrowband filters such as H-Alpha wonders can be performed! I imaged that old Winter favourite The Great Orion Nebula, or M42. I took exposures of 15 minutes over more than 3 hours, and the following image is the result. Because the core of M42 is so bright (relatively speaking!) I took a series of short, 15 second exposures and blended that into the core region of the main image.

Another advantage of using narrowband filters is that the detail is always very sharp. This is because the band of frequencies of light is very narrow (in this case about 9nm), and the focus is sharper than a full white-light image due to the precise focus you can achieve at these specific wavelengths.

For interested readers, the telescope used here was my new 130mm Triplet APO refractor, operating at F/7. The CCD camera was my ATIK 383L and a 2″ Baader Ha filter. Off-axis autoguiding using an SX OAG unit and SX LodeStar CCD.

Remote Imaging – M33 in Colour

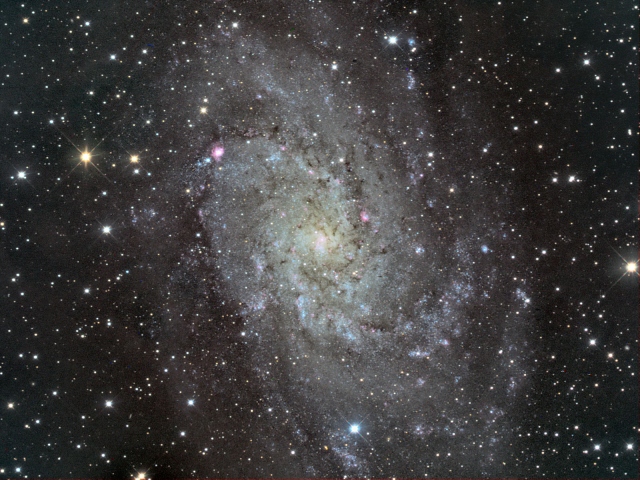
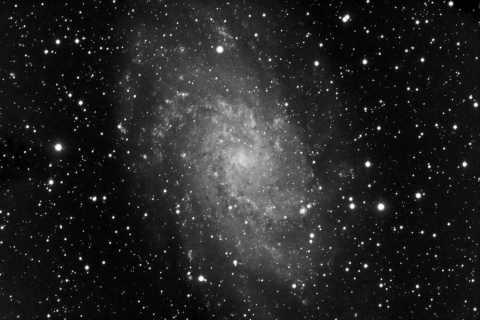
It seems I’ve caught the remote-imaging bug! I couldn’t resist having a go at M33 with a bigger ‘scope, so I used the LightBuckets LB-0005 setup which is a lovely ASA 300mm f/3.6 Newtonian and a Finger Lakes CCD camera. This is an hour of Luminance data taken one night followed by an hour total of RGB data two nights later. Wonderful quality from this fine telescope.

Messing about with Remote Imaging

Since the weather here in the UK has been pretty bad (for astronomy) recently I decided to have a go at remote imaging. I used the smallest (and cheapest!) remote telescope at the ‘Light Buckets’ facility. This is a high quality 110mm APO refractor based in the Southern part of the Rhone Alps in France. The camera is an SBIG ST-8 non-antibloming CCD , but the main thing was that it was clear! I set up 5 exposures with a Luminance (clear) filter and waited. The next morning, I had an email telling me the run was complete and I downloaded the ‘light’ images along with the calibration frames (Dark, Flat and Bias). The result after a few minutes in Maxim DL and Photoshop CS3 is show below. (click to see the full-sized image).

Oh, by the way this is M33 in Triangulum.


A Couple of Comets

Here are two relatively ‘bright’ comets that are around at the moment – both currently in the constellation of Andromeda. Bright for CCD imaging that is! The comets are called 168P Hergenrother and 260P McNaught.

It’s not easy to produce beautifully smooth images of comets and the stars and sky around them. This is because the comets are moving, albeit slowly, against the background stars. So, to produce a decent image, one must take several exposures of a minute or two and then stack them on the bright head of the comet. This produces start-trails and the images look a bit noisy because the normal averaging effect on the background is lost.

Jupiter – A case of the blues!

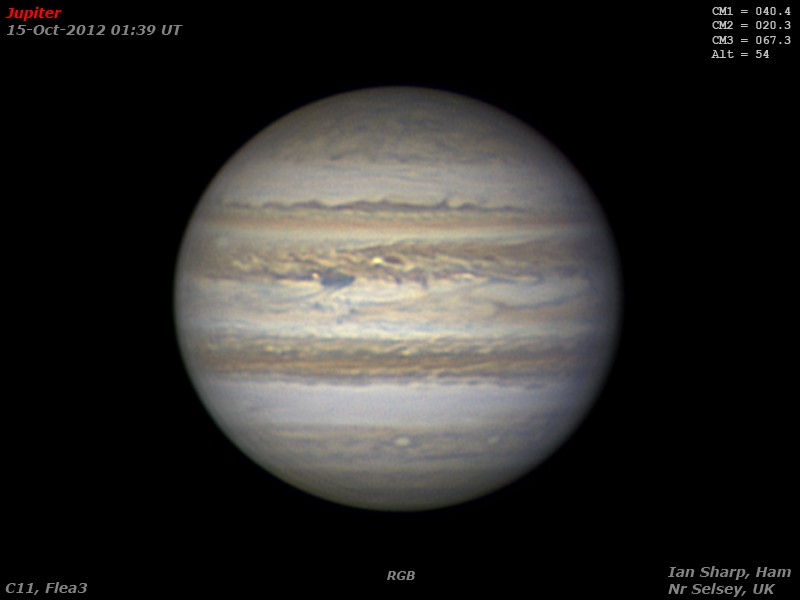
There’s a moral here somewhere.I went out this morning under a crystal clear sky; Jupiter blazing away in the South-East. With collimation complete and a quick butchers through the eyepiece, I got the planet squarely on the chip of the Flea3. Just finishing the run of green images when clouds rolled in, so I too about 500 frames of a very dim blue. Anyway, no more clear sky (until later when I got clouded out before any images could be captured), I decided to process the blue and hey-presto a decent RGB image!

It doesn’t get better than this!

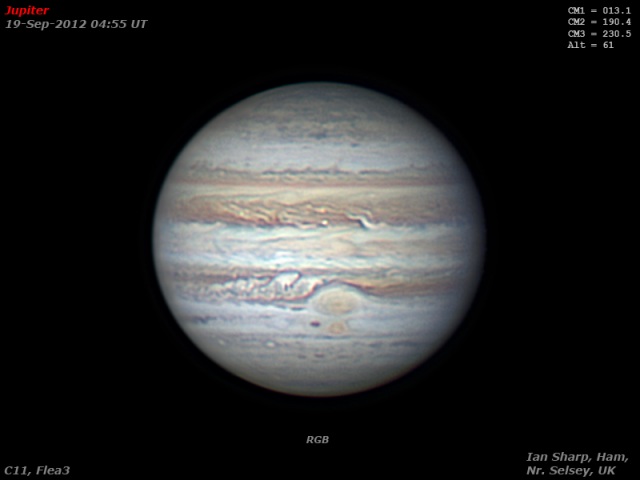
A wonderful morning! Went out at 4am BST to be greeted by an incredible dark and starry sky. Jupiter and Venus both blazing in the East. Jupiter gets to just over 60 degrees in altitude from here in the UK this apparition, making for decent imaging if the seeing is good. Well the seeing was good this morning! This shot was the last of several runs, and has the Great Red Spot (GRS) just past the meridian. As always click on the image to see it full-size.


It was so nice – cuppa in hand and Jupiter rock steady on the screen. A glorious sight through the eyepiece too! Note ‘Red Spot Junior’ just to the South of the GRS. Lots going on too in both the NEB and the SEB.

This image was constructed out of 9, 60 second captures at about 64 frames per second. The sequence of colour filters was RRGGGGGBB.These were ‘de-rotated’ and combined into an RGB using WinJUPOS. This process prevents the features smearing out due to the rotation of Jupiter.